What’s on your doorstep - Orienteering courses
/Orienteering is a great way of getting your daily exercise during lock down and also ensures a good dose of Vitamin N (Nature). If you are homeschooling at the moment, it's also a great way to get the kids out of the house, and to teach them some valuable new life skills.
The aim of orienteering is to try and navigate around a series of checkpoints, also known as controls, on a course using a map and compass. There is no set route, and it is up to you as to which order you visit the checkpoints. Anyone can try it, you don’t even have to run the courses, you can walk the course and take as much time as you want.
It is a great activity for families, the kids will love finding the checkpoints, and many of the park courses are suitable for prams and wheelchairs.
All you need is a basic compass, a pencil, and a map of the course. Some of the courses can be found online and then printed off at home, but also bear in mind that some courses may charge a small nominal fee for the map download.
There are hundreds of courses dotted around the UK; some have more difficult terrain, but most towns will have easier orienteering course in some their larger public parks.
Click here to find out if there is a course near you. https://www.britishorienteering.org.uk/pocs
There are three orienteering courses near Huddersfield at Beaumont Park, Greenhead Park, and one a little further afield at Newmillerdam, Wakefield.
Our top tips for orienteering
Normally you would be able to pick up a map of the course from a nearby leisure centre and visitor centre, but most are currently closed during lock down, so search the internet for the map of the course you’re interested in.
Once you have a map printed off, get it laminated, or find a clear plastic bag or map case to keep it dry. We all know what the British weather is capable of, and you don't want your map turning to mulch halfway around the course.
If you can’t find a compass, try using your phone. Download a free app called OS locate. Open the app and at the bottom you will find a link to a virtual compass. Failing this you can pick up a cheap compass for about a fiver on the internet.
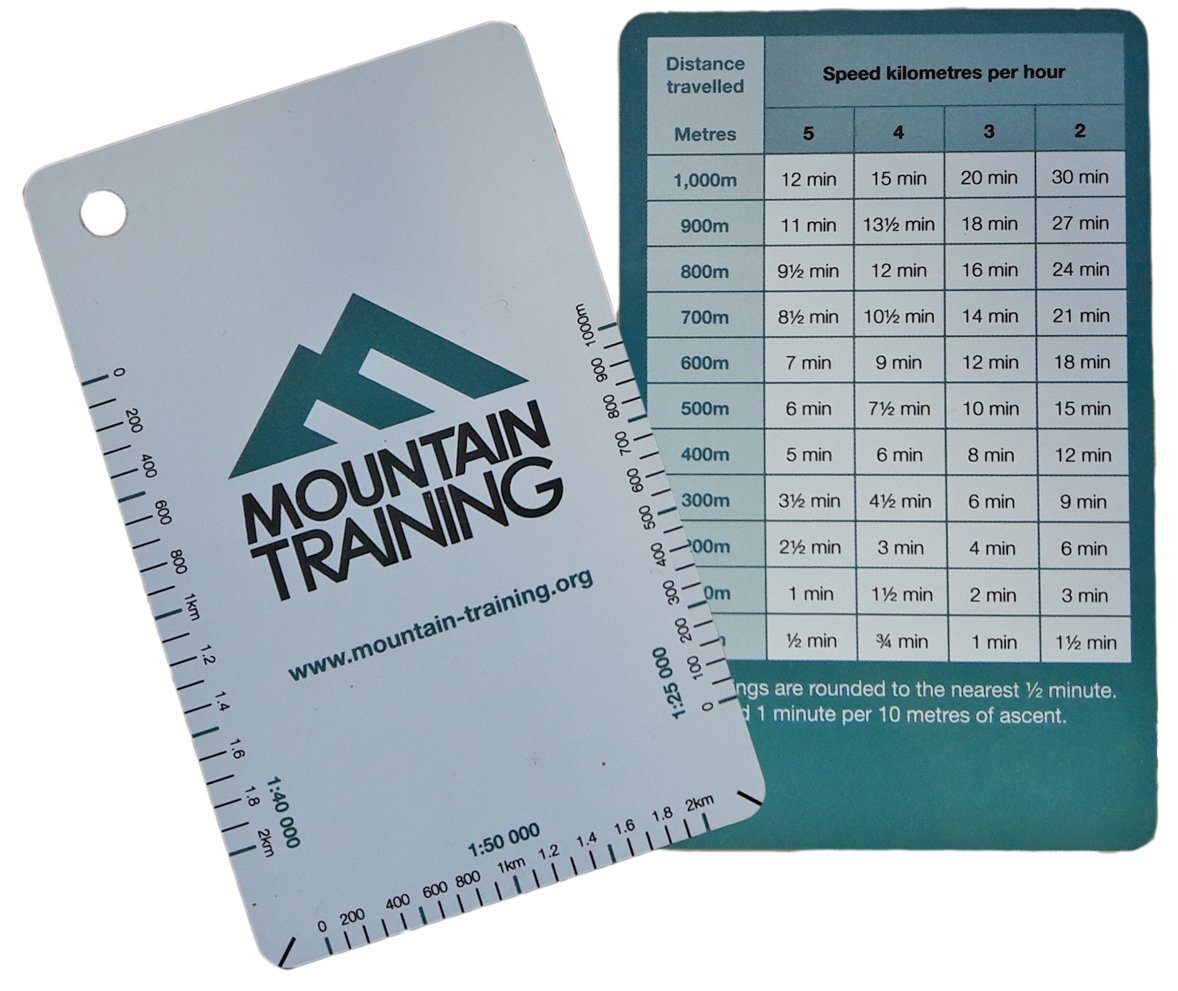
Different orienteering maps have different scales, and orienteering maps are generally 1:5,000 scale or 1:10,000 scale. So that means that on a 1:5 K map 1 mm on the map is 5 metres on the ground, and with a 1:10 K map, 1 mm on the map is 10 metres on the ground.
All the maps will have a legend to show you woods, paths, roads etc, so familiarise yourself with these for your course, as they can vary from map to map.
On your map you should also find a list called ‘Control Descriptions’, this is basically a list of clues for each checkpoint, i.e. Path junction, or wall end.
Most courses have different levels, i.e beginner, intermediate, advanced, but you can tailor how many checkpoints you wish to find to suit your available time and ability.
On the permanent courses you will be looking for different coloured letters or numbers located around the course, on the more professional courses you are looking for an orange and white marker.
How to navigate for beginners
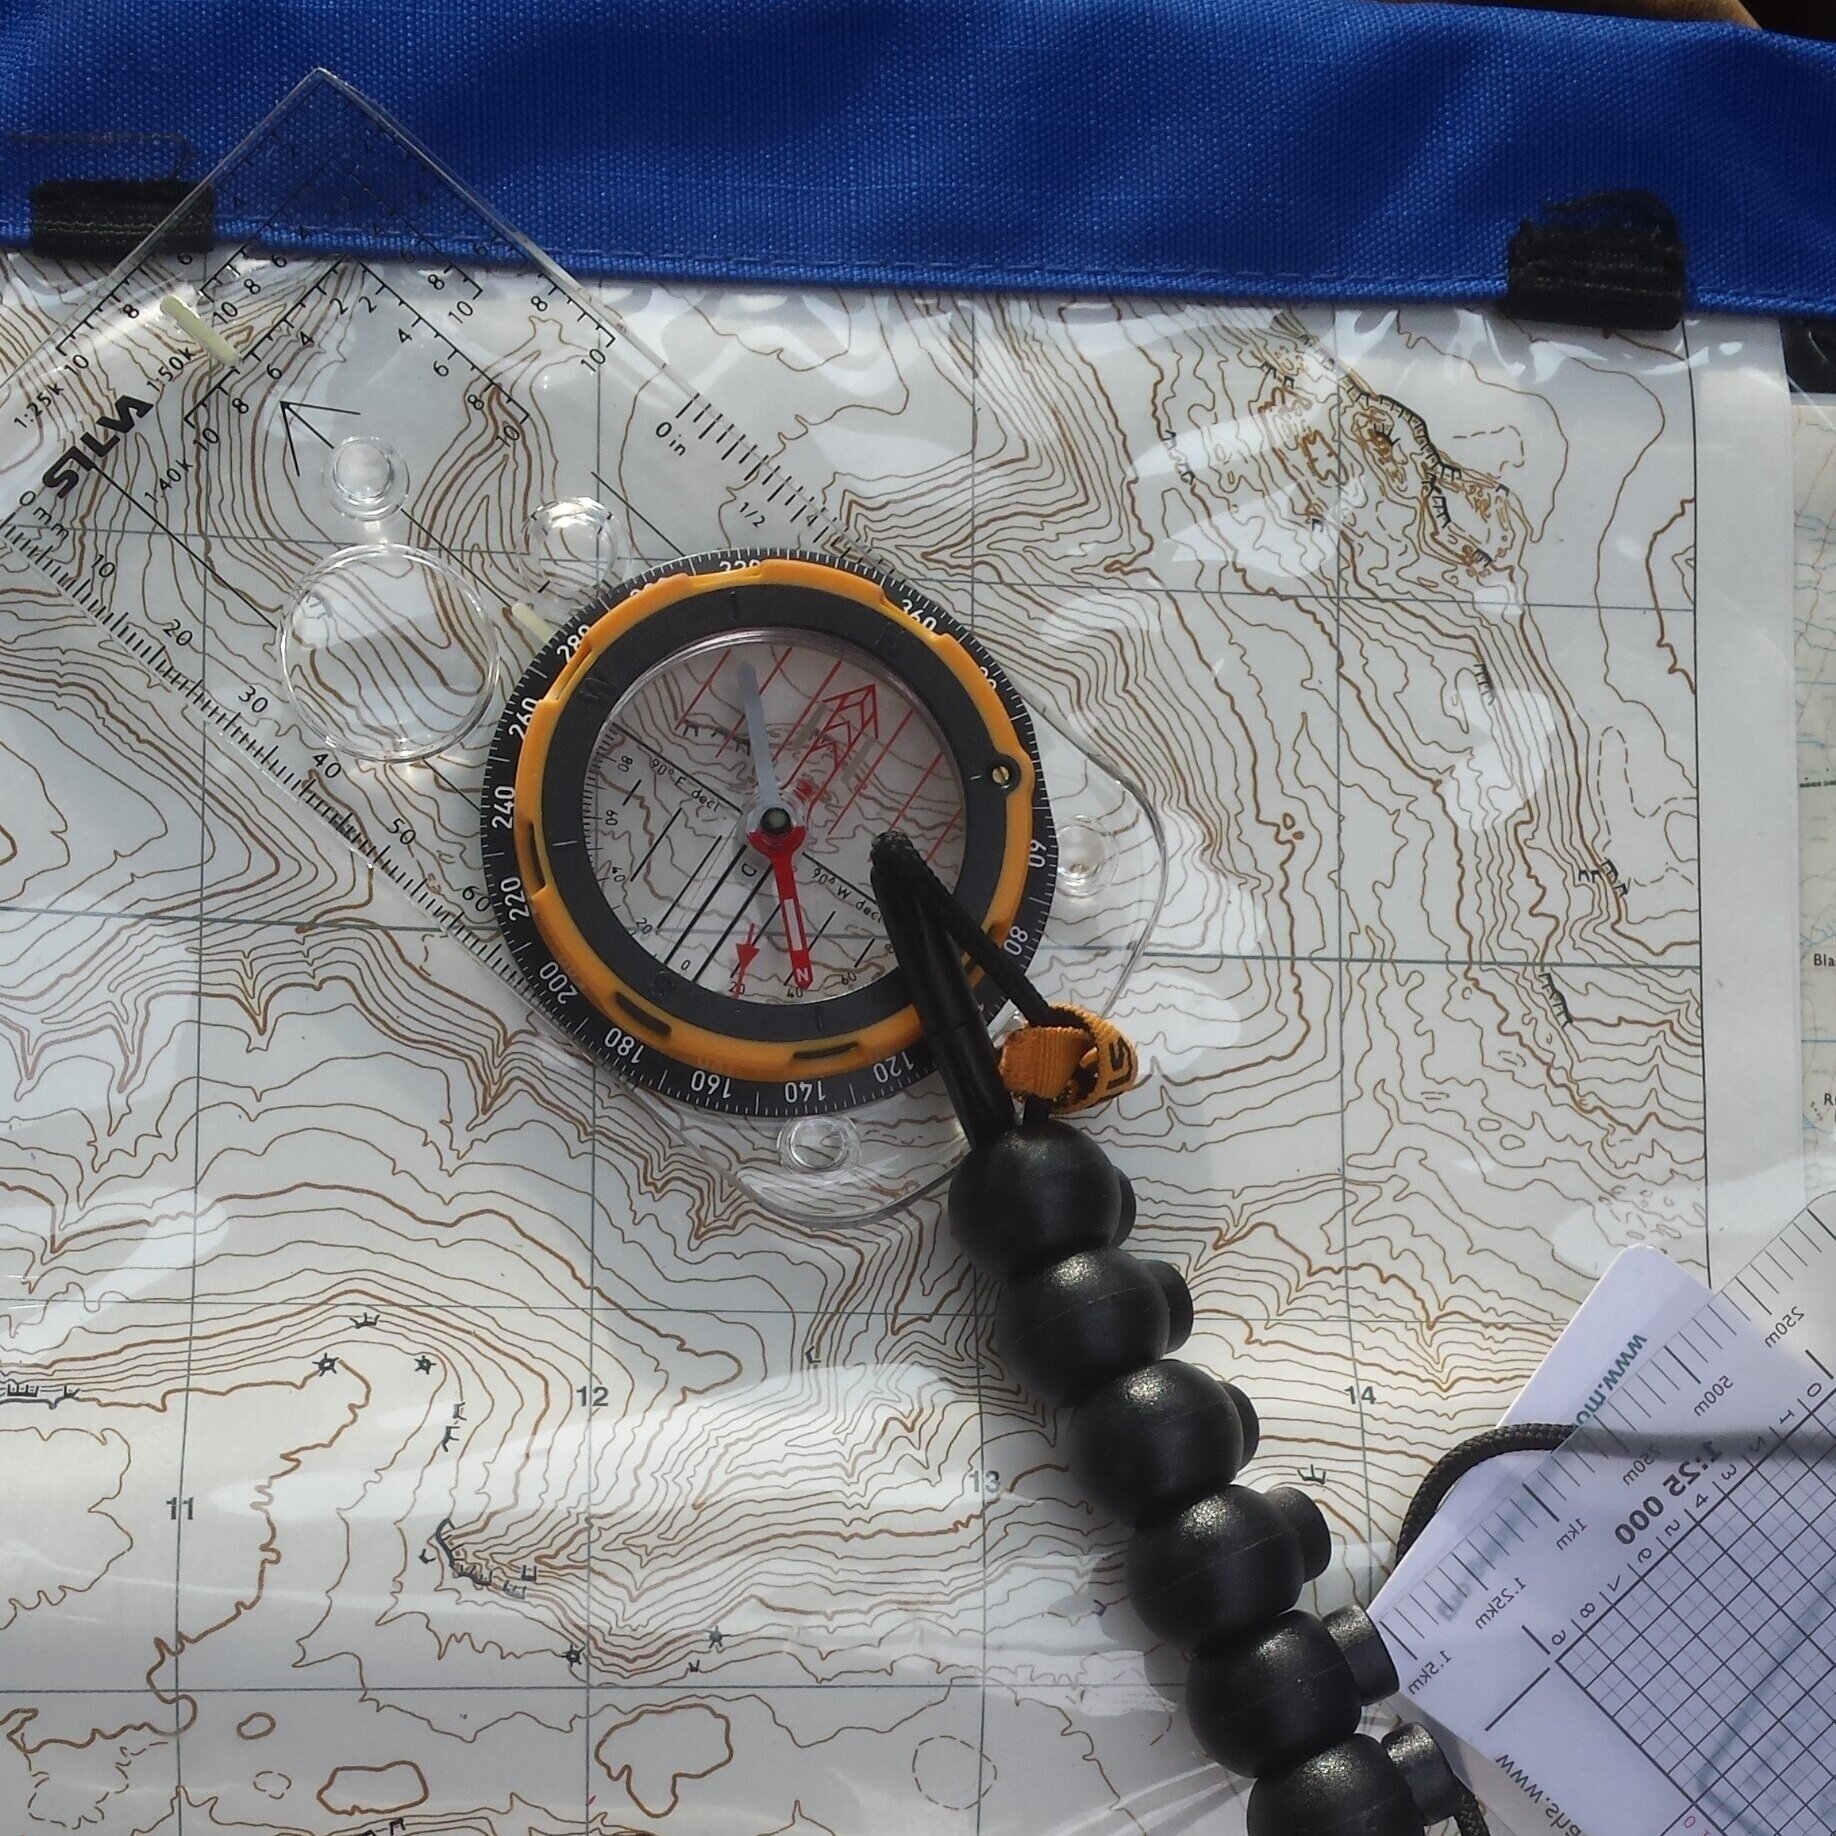
Orientate the map - This means you are turning the map so the features on the map match the features on the ground. Turn the dial on the compass to 0 and put the compass onto the map with the directional arrow pointing to the top of the map, then turn the map and compass around in your hands until the red magnetic needle is also pointing towards the top of the map. You, your map, and your compass should all be facing North now. Its handy to familiarise yourself with the layout of the area and know the directions of North, East, South and West, and it’s also a good habit to get into.
Find your location on the map (park entrance, car park), and find which checkpoint you want to navigate to first.
Place your compass on the map with the edge of the compass base plate running from your location to the checkpoint that you want to navigate to. Ensure that the direction of travel arrow (the big arrow at the front of the compass) is pointing from your location to the target location, i.e the direction you will be travelling.
Turn the compass housing (the bezel dial in the middle of the compass) until the visible orienting lines inside the dial under the magnetic needle are parallel with the grid lines on the map that run from North to South. Ensure the red north/south orienting arrow under the needle is pointing towards the top of the map.
Lift your compass from the map and hold it horizontally in your hand. Turn yourself and the compass until the red end of the magnetic needle is inside the red north/south orienting arrow. The ‘direction of travel arrow’ will point towards your destination. Take note of a landmark in the distance and start moving in that direction.
The compass will give you a direction to start heading, but you may not always be able to walk in a straight line from one checkpoint to another, so look for routes around obstacles such as lakes etc.
To learn more map and compass skills, why not book onto one of our navigation courses www.bootroutes.com/navigation-courses
Or visit the Ordnance Survey or Silva websites for some great free tips and videos to help get you started with your map reading skills. https://getoutside.ordnancesurvey.co.uk/guides/beginners-guides-map-reading/ or https://silva.se/guides/navigation-guide/how-to-navigate/


